Cut and Paste Advertisement
- For this assignment: we were asked to make a magazine advertisement, using pictures from magazines. we used line,emphasis, color, and balance to create our advertisements.
- The input factors: we used were paper, magazines, glue, scissors. We needed to know how to make the color pop and draw attention to the main idea of the advertisement.
- The process: for this project was to look through magazines and find and cut out advertisement pieces, and take a piece of paper and design a new advertisement. Then using the two elements and two principles: line, emphasis, color, and balance we created a new advertisement catching the reader's eye.
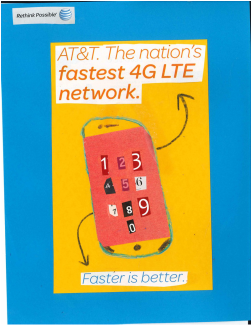
- The output factors :or what we are looking at is, i took little clips from a couple magazines and re created the AT&T advertisement. I did this by cutting out a phone and a few logos and slogans and placing the phone in the center of the page placing it on a bright yellow sheet of paper that was pasted on a blue sheet of paper to make it pop. I also put arrows from the cell phone to indicate fastest 4G LTE network along with faster is better.
- The feedback: I received by the instructor during the project was I probably wanted to make the phone pop more by adding line and arrows. so keeping the feedback in mind that is when i added the arrows and color on the phone with each individual numbers on to the phone.
- What I learned; during this assignment I learned how to create a well organized and planned out advertisement. That catches the readers eye and is neat, colorful, and use elements and principles to create balance with line ad empahsis.
Flyers
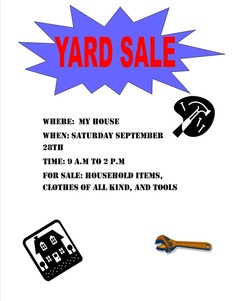
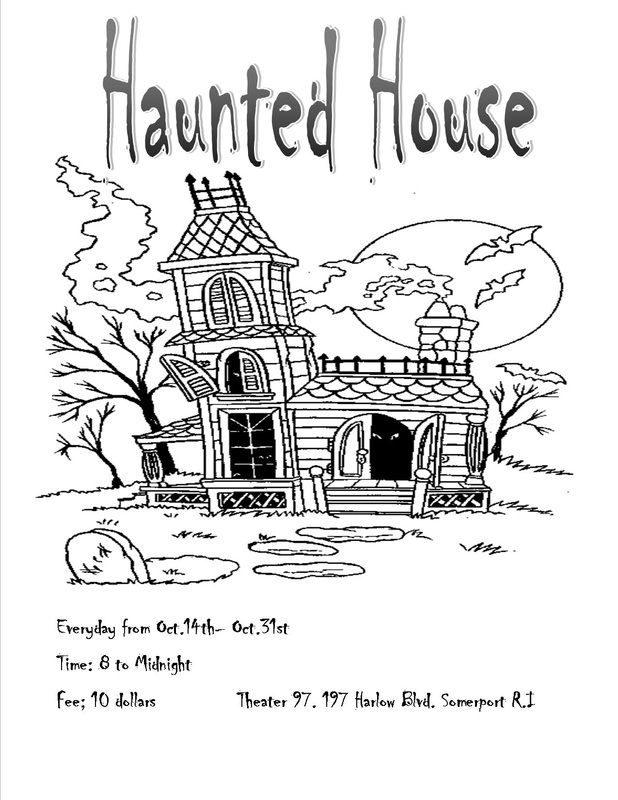
- For these two flyer assignments:, we were asked to create flyers of events we created. Using Microsoft publisher and splitting the paper into three equal sections. Our second flyer the haunted house one was told to be done in black and white.
- The input factors: we used Google images along with Microsoft clip art and Microsoft Publisher to create these flyers. The computer was also an input factor. We needed to know how to evenly divide our paper to create a well designed flyer to get our event across.
- The process: we had to create flyers one for an event of our choice and one for some sort of Halloween event. First we started off with brainstorming then we moved onto the computer to create our flyer with the even of our choice. we had to first split our paper into thirds then get images describing our event paste them, and create our what,who,when, and where. Then publish our flyers.
- The output factors:what we our looking at is a few clips or pictures of each of my events on each of my flyers that has to do with my event. and information on the location, time, and what my event is on each of the flyers.
- The feedback: the feedback i received was i did a good job and to just work on the black and white one more to really make the black and white pop out more.
- What I learned: I learned how to create a well balanced out flyer that is not too complicated but not too simple either. Also how to use who, what ,where, when, and why to include in the important information part of a flyer. I also learned how important it is to catch the reader's eye so they will read your flyer and you can convince them to attend your event.
Test Brochure
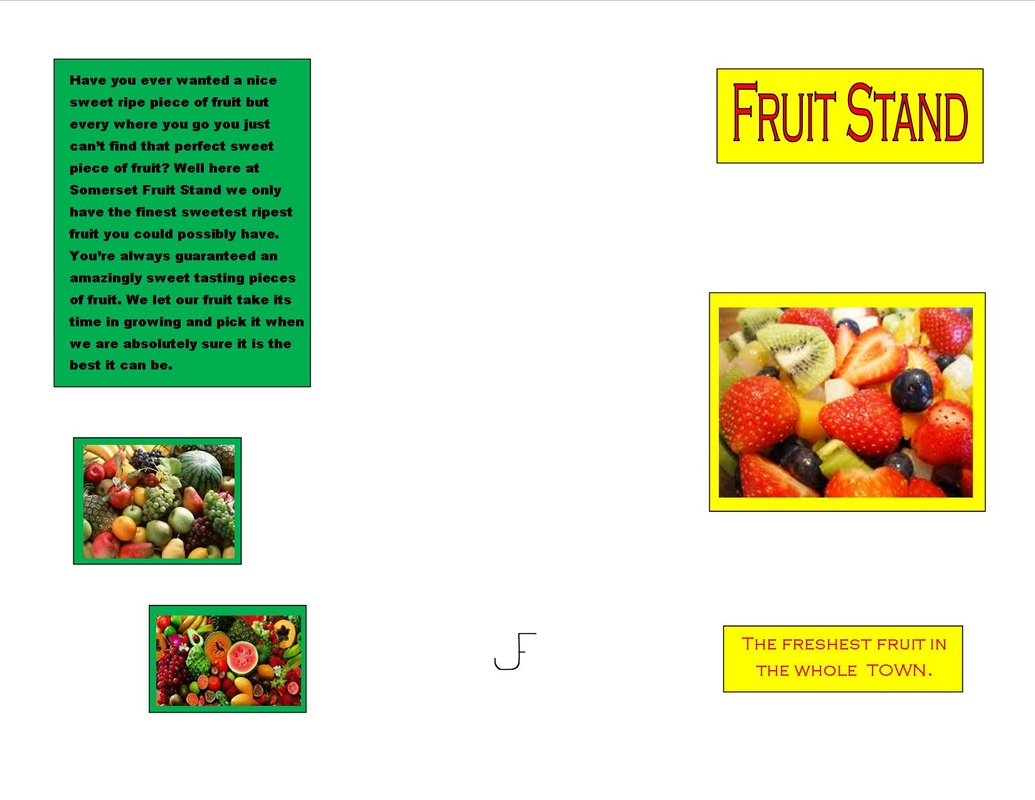
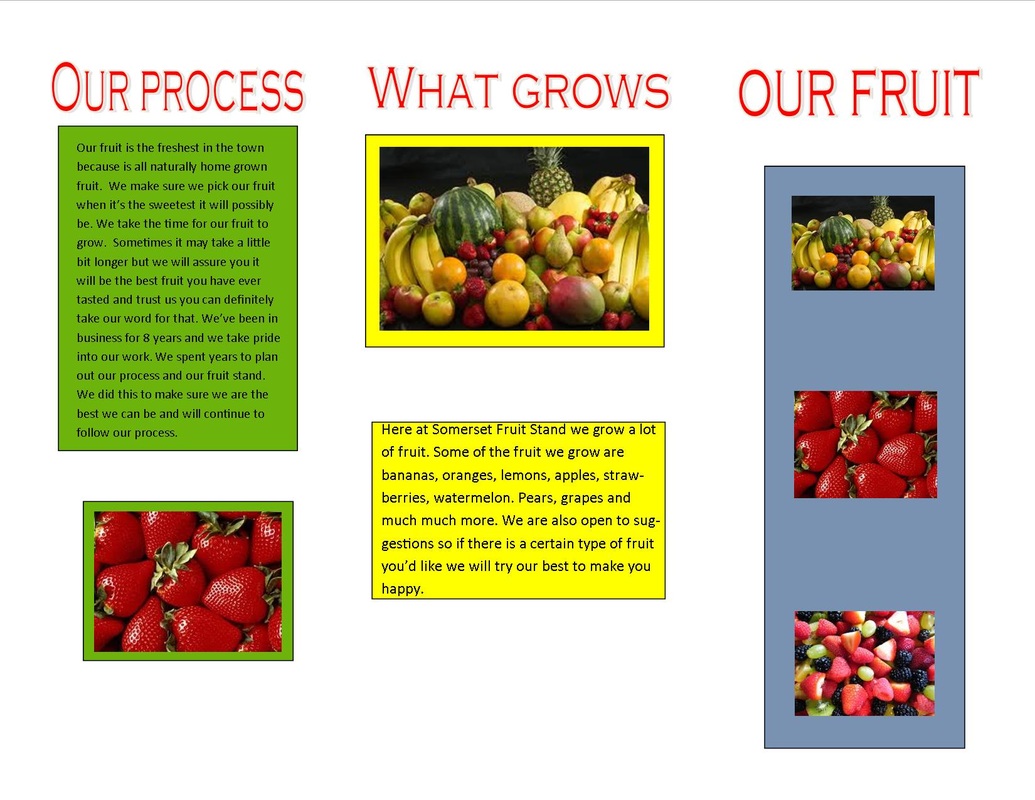
For the Test Brochure assignment we were each assigned a topic. my topic was a fruit stand. With our assigned topic we had to make a test brochure to show what sell and what our services were. So i made a pretend fruit stand named The Somerset Fruit Stand. The test brochures are a test of the brochures we are going to make from our field trip to Thayer Street.
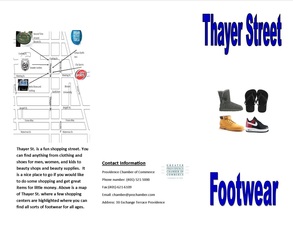
Thayer Street Brochure
|
|
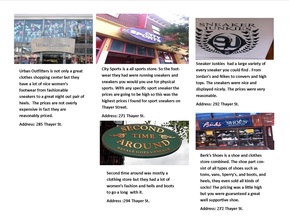
For this assignment we had to create a brochure that had information on a specific topic we were assigned. My topic was footwear and you couldn't just "Google" footwear and gather the information. We actually went on a field trip to Thayer Street in Providence, RI and gathered the information for this assignment and then created our brochure. The input factors were before we could even start the brochure we first went to Thayer Street with a notebook and pencil and walked around and looked for important information on our assigned topic, by important information I mean the stores that sold our assigned products, the price range, and where the store was located on Thayer Street. I would say the input factors would be the information we gathered from our trip to Thayer Street, our first graphic organizer, the computer, Microsoft Publisher to make the actual brochure, pictures we took, maybe Google if you didn't gather enough information to form your brochure, the map of Thayer Street that was made by one group member that was assigned to make the map, the printer to be able to print out the brochure, your phone that helped you store the picture, and the folding machine that helped get a perfect fold for our brochure before we handed it in. The process was a rather long process. First we started out finding out what our assigned topic was, then we had to go to Thayer Street to actually be able to walk around Thayer street and gather all of the information. Once we got back from Thayer Street our groups got together and shared the information we all gathered with one another, then we started out by organizing all of our information and planning it out with a graphic organizer we had to make. Once we were sure our graphic organizer was how we wanted the real thing we could start creating our brochure. I used my graphic organizer as a guide and started creating my Thayer Street brochure using all my information and Microsoft Publisher. The output factors or what we are looking at as a result of the long process for this brochure is a well planned out organized brochure of footwear on Thayer Street. What I mean by that is you are looking at my result that is a brochure of all the stores that sell footwear on Thayer Street, along with their prices and the store's location on Thayer Street, because Thayer Street is a very long street. The feedback I received was that the cover was nice and I did a good job but it would be better if I put the map on the very back of the brochure because if you were to use the brochure you don't want to be flipping through the brochure to find the map. I also was told that within the writing portion of my brochure I had some hyphens which we were told to make sure we did not have to make it look my professional looking. During this assignment I learned a lot. I learned how to gather information, how to interview workers about their products. I learned how organizing and planning something first is very important. I also learned how to use Microsoft Publisher and how to use all of the neat feature it has. The last thing I learned is how to make something look neat and professional.
